How to Install, Activate and Update Amo Tables
In this article, we will show you how to Install, Activate and Update Amo Tables
After downloading the Amo Tables plugin, do not unzip the file.
To install a plugin you just need to put the plugin files into the wp-content/plugins directory. Once a plugin is installed, you may activate it or deactivate it from the Plugins menu in your WP administration.
In WordPress 2.7 and above you can install plugins directly from the admin area. Download the plugin to your computer, then log in to your WP admin area and go to Plugins > Add New at the top of the page, you will see “Upload Plugin”. Click that and select your newly downloaded plugin in zip format.
1
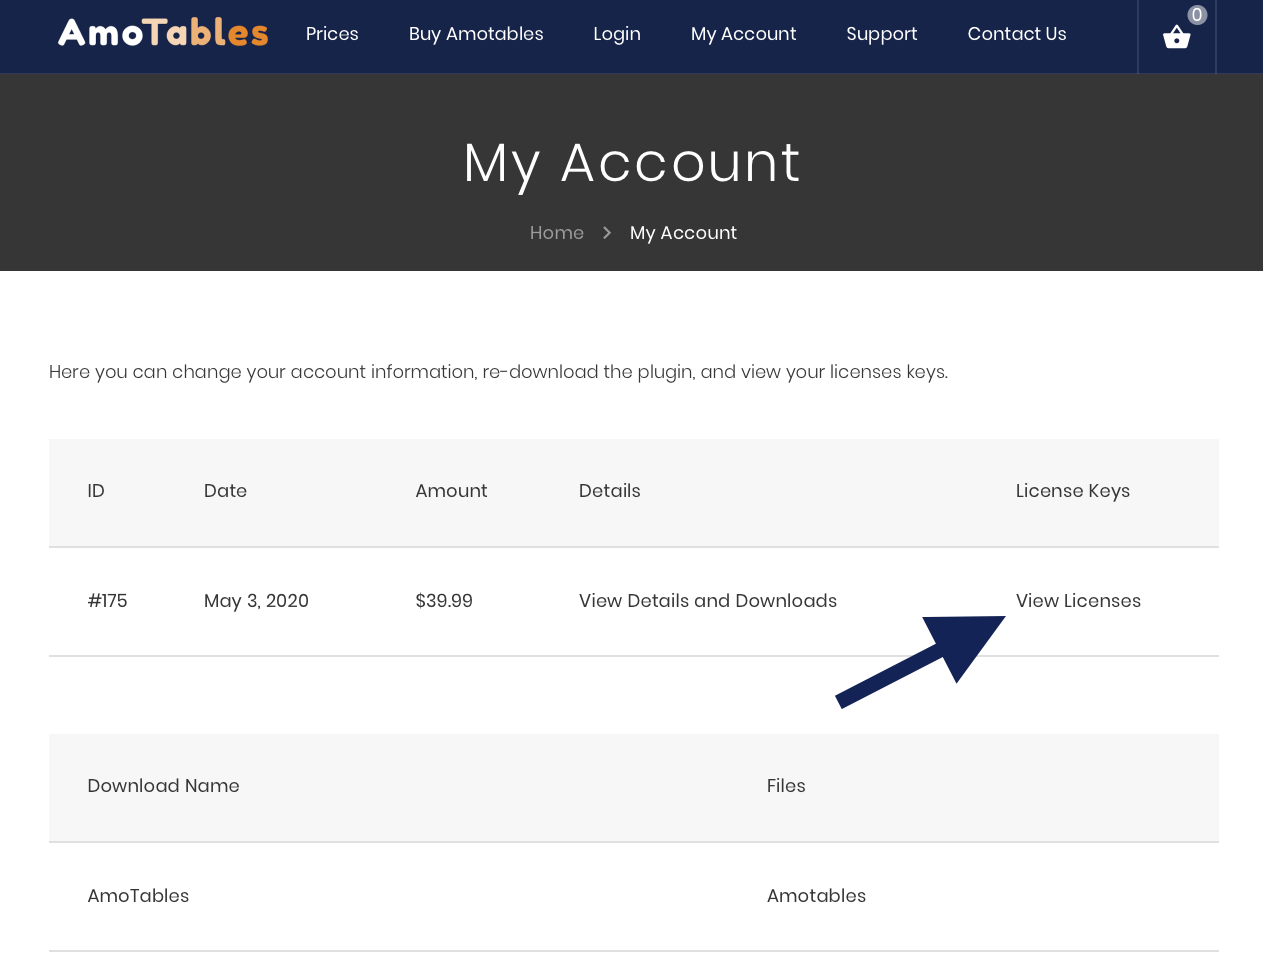
Get the plugin license from Licence page
You can get Amo Tables plugin license on your account Licenses page.

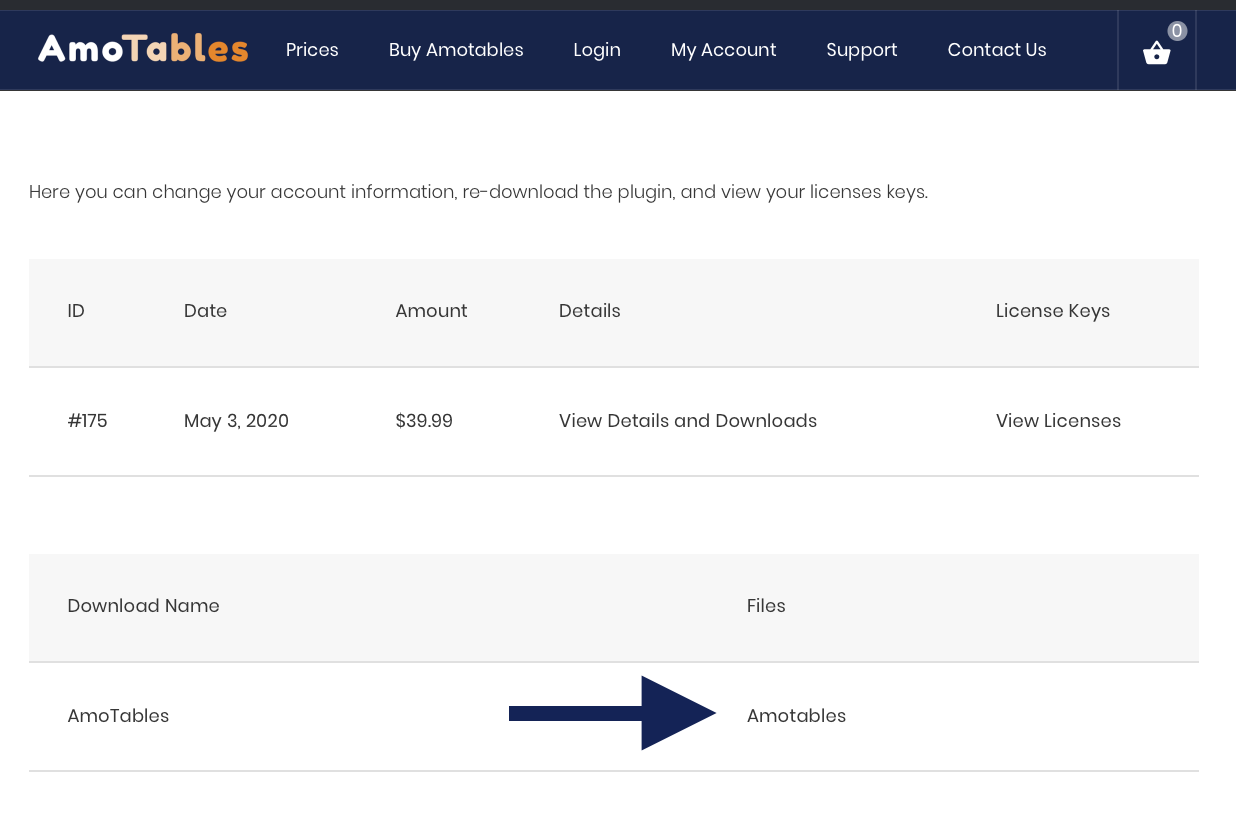
How do I re-download plugin files?
View your account Downloads page.

2
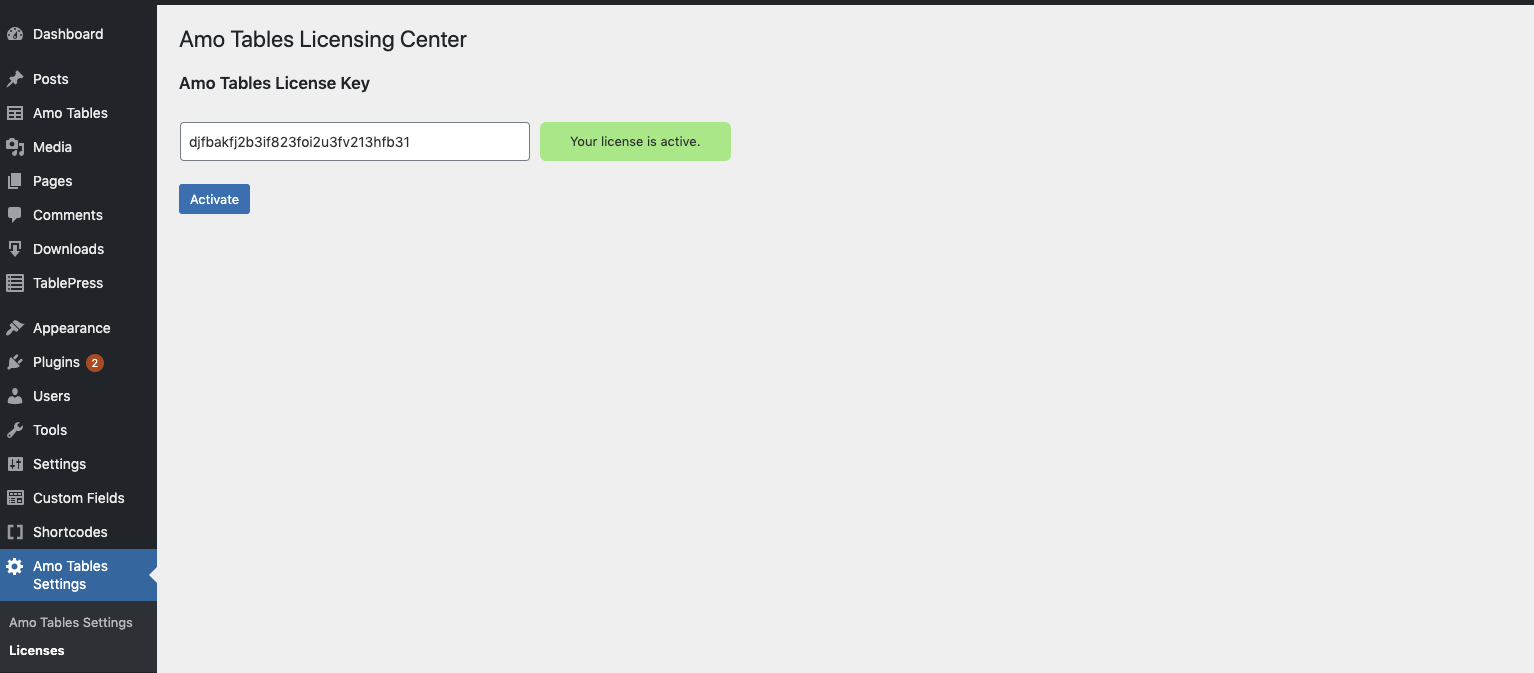
Activate your Amotables Licesnce
Navigate to "Licenses" tab in the "Amo Tables Settings" in your WordPress admin panel. Paste in you license key and click "Activate"

How Update Amo Tables?
All you do is head to the Plugins tab in your WordPress dashboard, see a notice that a specific plugin is out of date, and click the Update Now button to automatically update the plugin. WordPress then automatically grabs the latest version and installs it for you – no more manual input required.
Get Amo Tables Wordpress Plugin
There are a lot of Amazon affiliate WordPress comparison table plugins. The problem is that most tables just don’t work well on mobile devices and they lack the important features that your visitors need. Also the prices of all of these. Also, the prices of all these plugins are incredibly high. That ends today with Amo Tables – your #1 solution of your Amazon product tables.